
Make any changes to the body of the email.
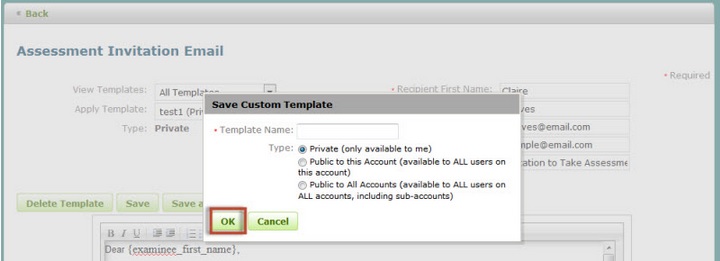
Click the Save as New Template button. A pop up window will display.
Enter a Template Name.
Select the Type (private, public or public all).
Click Ok. The pop up window will close.
A confirmation message will display on the page.
You also have the ability to add/remove tokens (commonly known as a data source) to the body of the email letter. The token will use information from your data source and insert it into the body of the email. All Q-global templates have imbedded tokens. They are displayed in a set of brackets { } (see images below for an example).
To Add a Token
Place your cursor in the body of the email template and locate it where you want the new token to appear.
Click the Token link on the toolbar menu located at the top of the email template. A pop up window will appear.
Select a token from the list. The pop up window will close.
The new token will now appear in the template.
To Remove a Token
Locate the token in the body of the email template.
Place your cursor behind or in front of the token.
Click the backspace button (or delete button) to remove the token (remember to also delete the " { } " symbols).
